When I purchased my Farr 727 Lion Passant, she had a separated and cracked floor grid and a survey report stating that this was not a structural issue. I have come to the opinion that the floor grid is necessary to spread the side loads from the keel. While I have sailed the boat for more than a year as is, Bruce Farr designed the boat to have wood frames to spread this load. (See photo of part of the plans).
 |
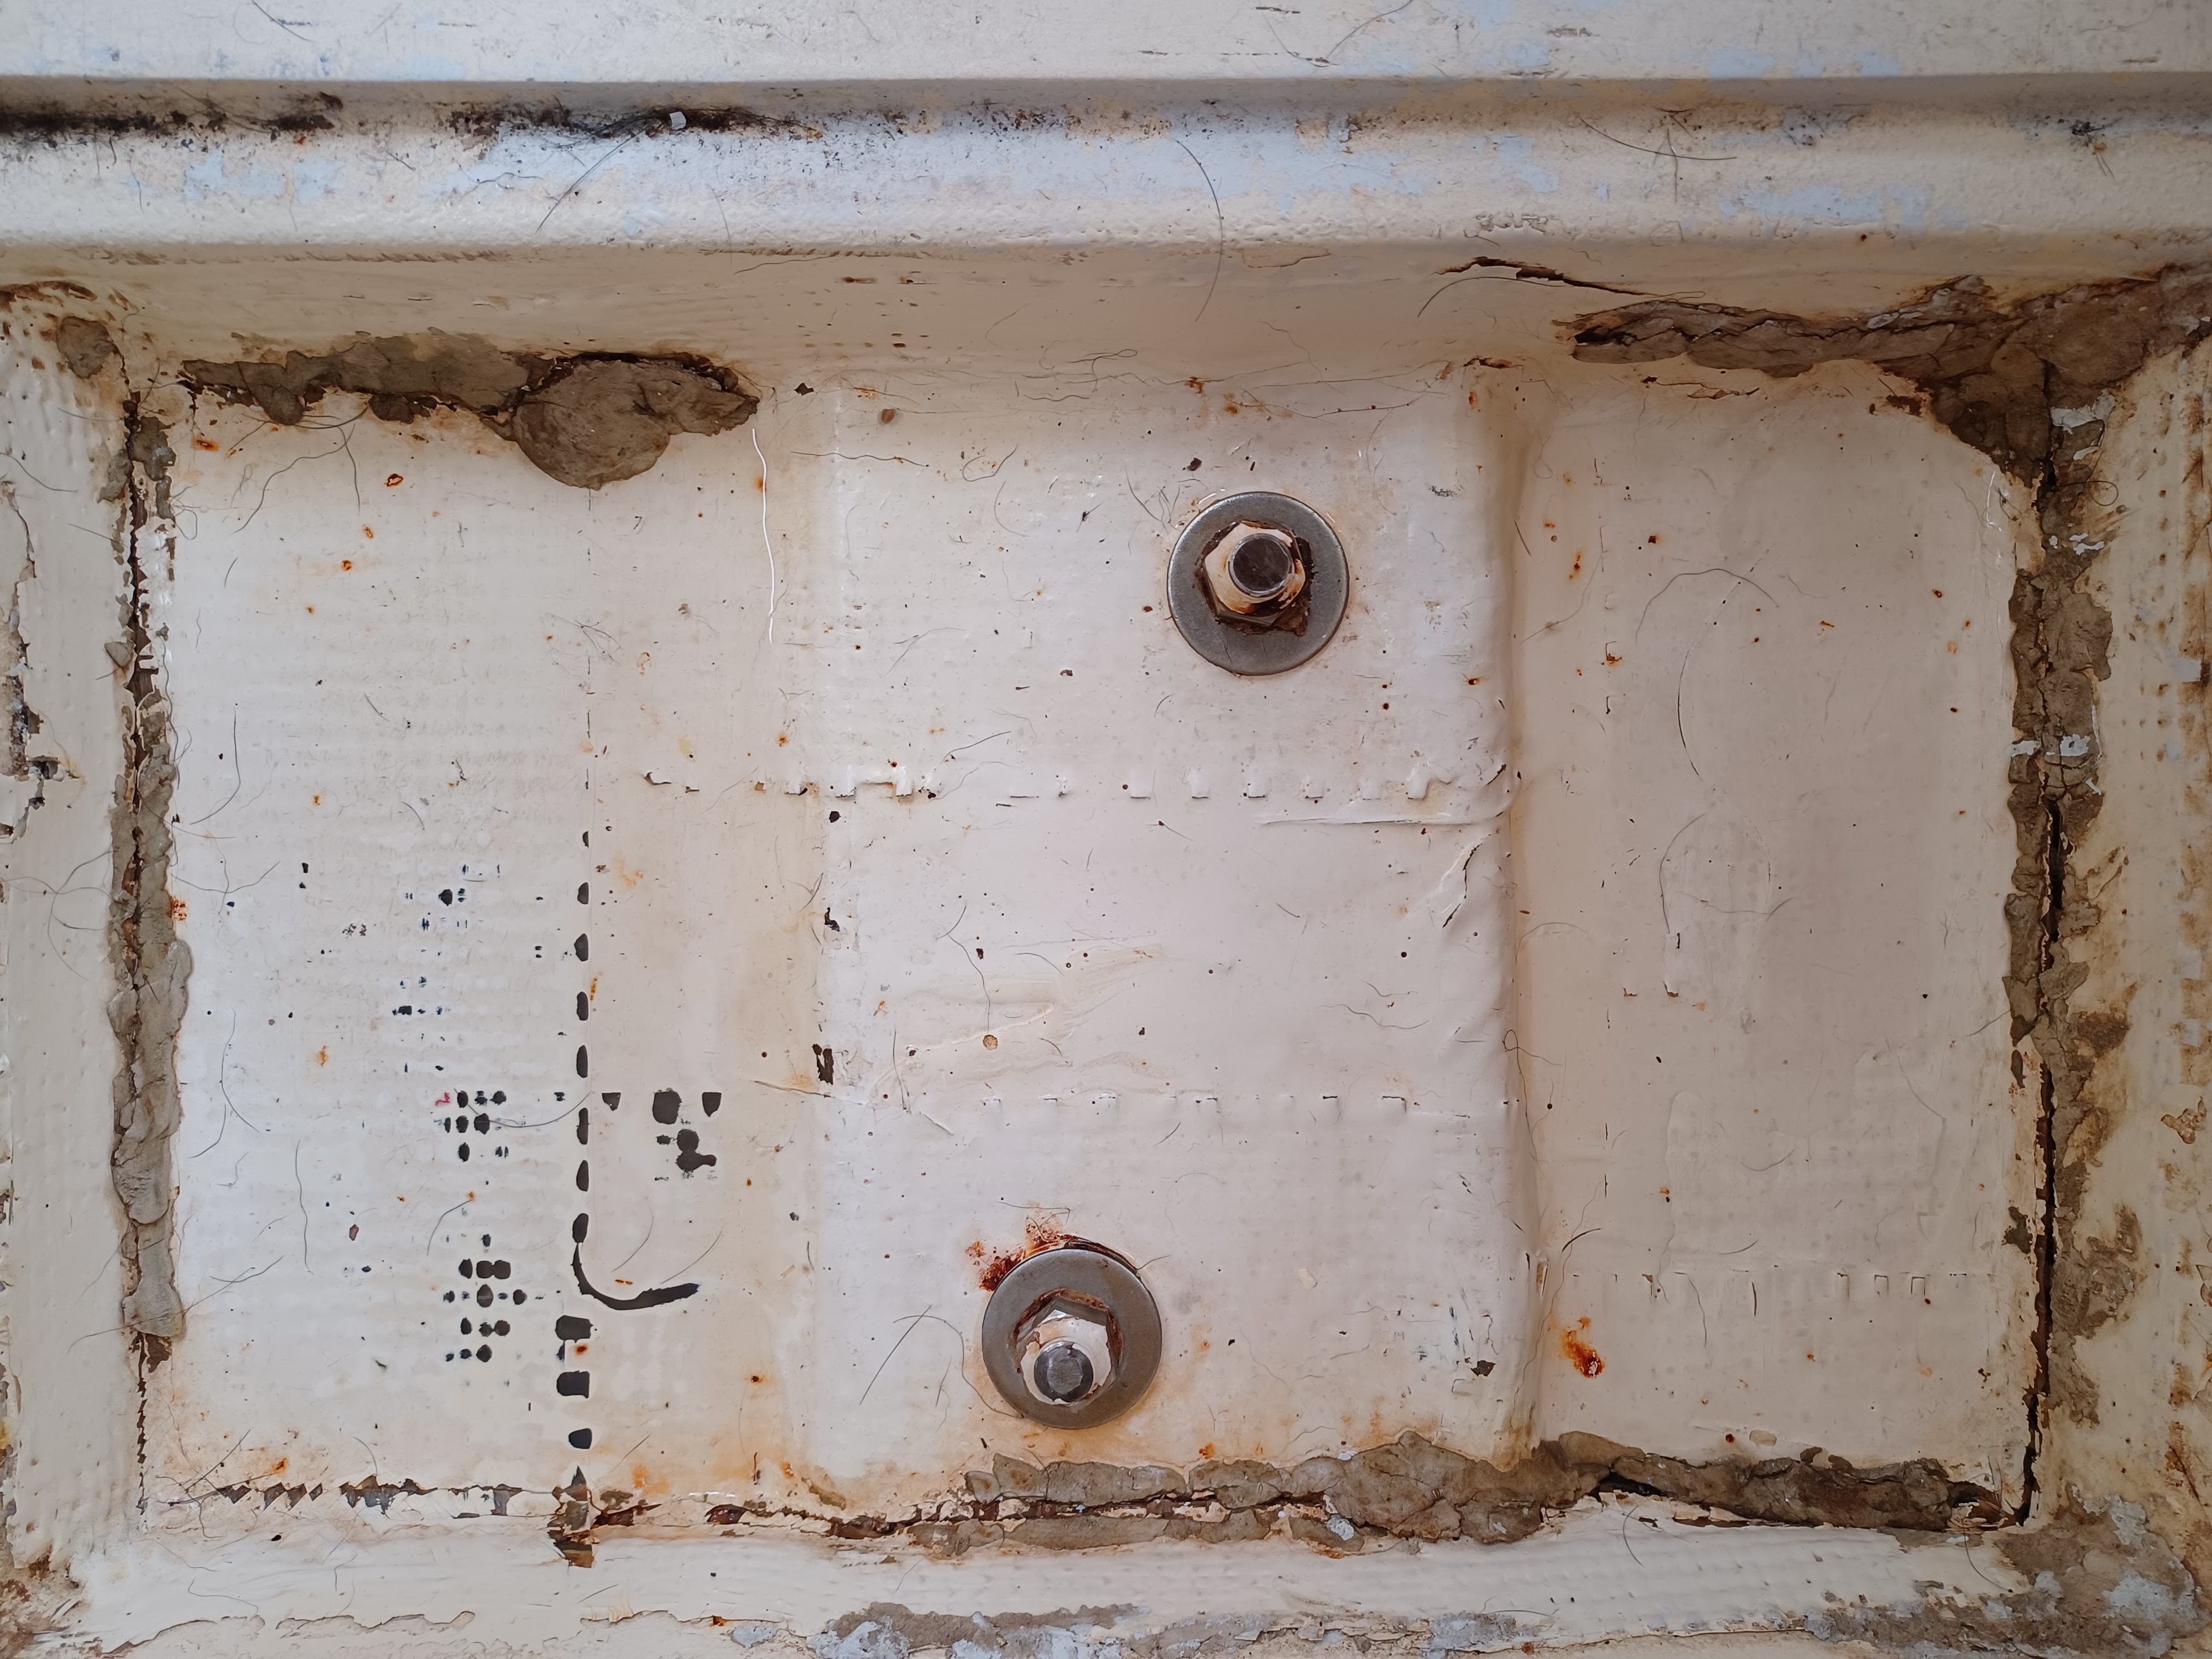
The keel is attached through bolts that are in turn bolted to frames
|
The Northstar version used a floor pan tabbed with a single layer of woven roving to the hull. On Lion, this roving tabbing had sheared and separated in almost all the 5 box divisions of the floor. See the following photos from when I bought the boat.
 |
Keel attachment - 2 keel blots and a reinforced 1 by 8 stringer. Note sheered tabbing around floor pan that someone has filled with a putty
|
 |
Cracked floor pan
|
I bought epoxy and fiberglass cloth to effect this repair and began work last week. Tomorrow I hope to finish painting the repaired floors. Here is my work to date in photos:
 |
Getting started. I have used an angle grinder and oscillating muti-tool to cut and grind away the old tabbing and make things ready for new fiberglass and epoxy tabbing.
|
 |
This shows a single prepared box in the floor pan
|
 |
The farthest aft box was only damaged on 3 sides
|
 |
An area around the crack in the center cross piece was ground back around the crack
|
 |
Similarly on the starboard side
|
 |
The front three boxes have been tabbed with at least 4 layers of heavy cloth
|
 |
Detail of one grid box
|
 |
The aft box required much less area to be glassed but I used the same layup
|
 |
| The cross piece repair required mushroom shaped glass pieces and L shaped pieces and needed at least 6 to 8 layers. |
|
|
|
 |
Back at home I primed and painted the floor hatch boards
|
 |
Here is the completed tabbing taped off and ready for priming
|
 |
And here is the primed floor. I will finish the painting in the next couple of days with another coat of primer and at least one of Interlux one part polyurethane
|


Nice job. Agreed, it wouldn’t have cracked like that in it wasn’t structural.
ReplyDelete